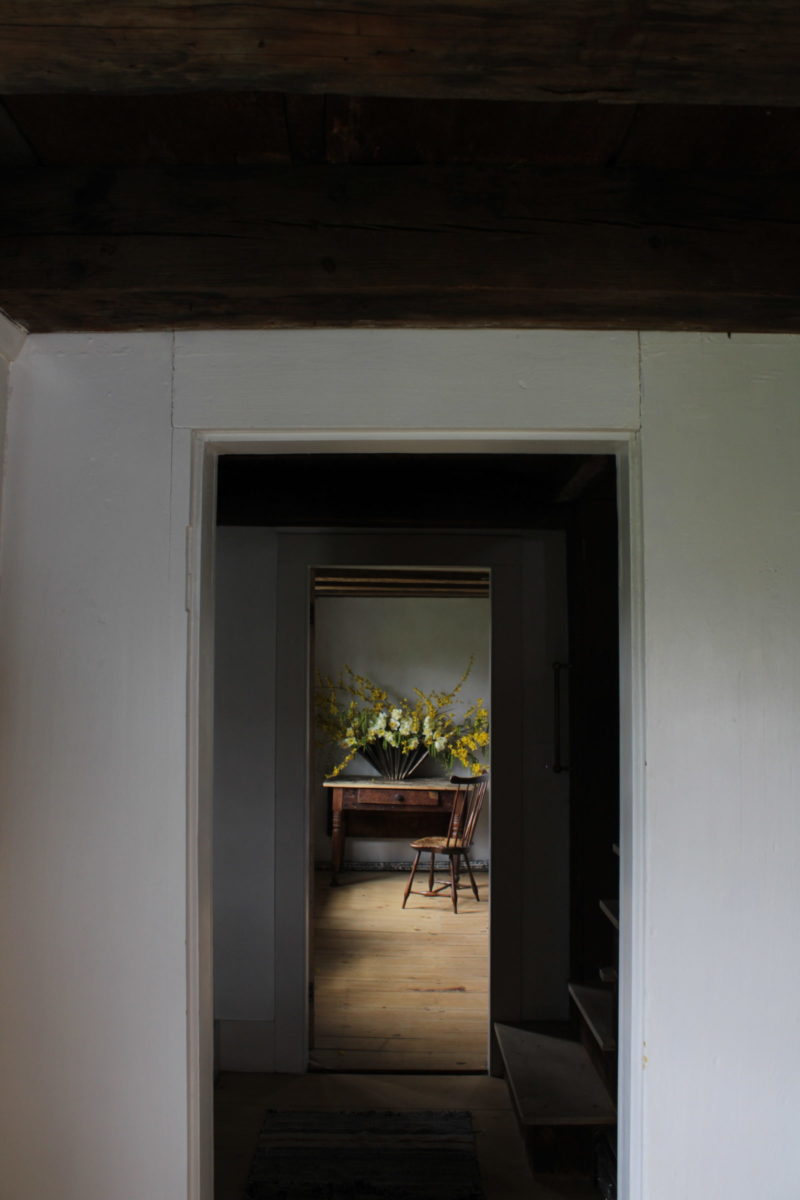
"The earth laughs in flowers" - Ralph Waldo Emerson


Each year as the Earth is waking up from her wintry slumber, we find ourselves in awe of the life that springs up around us. Tiny buds appear on tree branches, tulips begin their slow rise from underneath the ground, and at long last colour is restored to the view outside of our windows.
This year, we felt compelled to celebrate the Earth’s colourful awakening by exploring the world of homemade floral arrangements. Of course, we felt who better to get advice from than the wonderful Bess Piergrossi ! She provided us with a step-by-step guide to create a striking floral arrangement, right from your own backyard.

STEP 1: FORAGING FOR INSPIRATION
The first step to any arrangement I build is finding inspiration – I like to head outside to see what nature has in store. I usually go for a walk and scan the ground and the trees for colour – the first signs of an awakening spring. I call this “taking inventory”. At first glance, there may not be many signs of spring, but as soon as I step outside for a closer look I’m always pleasantly surprised.
My biggest tip for Spring foraging is: Look up! There’s so much happening in the trees and tall shrubs that we forget about because we don’t think of trees as “flowers”. However, trees bloom in their own unique ways and can add amazing interest to bouquets.
After my walk, I grab an apron, clippers, a bucket of water and head back out into the yard to do a second lap. This early in the spring, the first things to bloom here in New England are daffodils, tulips, trees and a few flowering shrubs. What I love about arranging this time of year is that there always seems to be an abundance of flowers that are commonly used for landscaping. If you don’t have any spring flowers blooming yet in your yard, maybe your neighbour has a few stems you could trade for a batch of cookies or perhaps your local grocery store or nursery carry spring stems that you can mix with your foraged goods.


STEP 2: PREPARATION
After harvesting the branches and blooms, I take them back into my workshop and trim the ends and remove any leaves or branches on each stem that would sit below the water line in a vase. Extra buds and leaves that are left soaking in the bottom of the vase can start to break down, harbouring bacteria which shortens the life of your bouquet. I recommend trimming the ends at different lengths; I like to stagger the lengths of the stems to create a flow of colour and texture when I’m ready to make my arrangement.
STEP 3: SORTING
Next, I fill several jars up with water and sort my harvest by flower variety – one type of flower for each jar. This step is one of my favourites! It always reminds me of setting up my painter’s palette; Each flower type and colour is grouped together and I can clearly see what my palette for the day looks like and how many of each flower I have.
Prior to arranging, it’s good to let your blooms soak for 1 – 2 hours after harvesting so they can reabsorb as much water as possible. Some flowers, like daffodils, leak sap when cut which can be poisonous to other flowers in your arrangement. To fix this, you’ll want to let the flowers soak in water for a longer period of time (3 – 4 hours) before mixing them with other flowers. (This gives them ample time to drain their sap.)


STEP 4: LAYERS
After I’ve left my flowers to sit and soak for a while, I’m ready to make my arrangement.
Making an arrangement is easy if you break it down into layers:
First, start with your largest branches and stems. This creates a backdrop for your blooms and adds structure. It’s recommended that your arrangement be 1 1/2 x taller than your vase, so don’t be afraid of adding height!
After creating a solid base of branches, foliage, etc., your next layer is the blooms. Sprinkle these throughout your branches to help highlight the arrangement. It’s fun to have the biggest, best flowers near the centre to draw the eye in, but this is by no means a rule! Feel free to play around with different heights and placements.
If you have any small accent flowers or pops of subtle colour, this would be your third layer and finishing touch.
Tip: For extra structural support, you can place a ball of chicken wire at the bottom of your vase; it acts like a flower frog and keeps your stems in place.


STEP 5: ENJOY
You’re done! Change out the water on your arrangement every day if possible to extend the vase-life of your arrangement. If you can’t easily remove the flowers from the vase, just bring your arrangement to the kitchen sink and let the water flow into the vase for a minute or two until the water replaces itself.
Usually I’m left with a few stems that I didn’t need for my arrangement. These make the best simple little bunches to spread around the house and fill each room with joy.
I’d love to see how your own arrangements come together. Be sure to tag myself and JUNE to show us what you’ve created! You can find me on Instagram at @besspier or @hitchfootfarm


Leave a comment