


‘Spring Cleaning’ is a phrase we hear every year as the weather tempers and little buds begin to appear on branches. Just as the earth is waking up, we tend to rub our sleepy, wintry eyes and wake up along with it. We rearrange rooms, deep clean the kitchen, tidy up the closets and mist our spaces with refreshing room sprays.
This year, we (Joël and Danielle) decided to elevate our spring cleaning ritual by taking on a pantry makeover in our own home. Naturally, we figured why not learn from the best? We reached out to Shira Gill , who is a home organizing expert, author and founder of #15minwin. She provided us with the perfect how-to guide for creating the pantry space of your dreams.


Depending on the size and state of your pantry, you’ll want to carve out at least a few hours for this project so you can be thorough and create an impactful transformation and lasting change.
Follow the five simple steps outlined below to transform this clutter culprit into a streamlined and stylish space, primed to help you prepare your next meal, snack, or treat. Let’s go!
Products You Might Need:
Airtight Food Storage Jars
Tall Glass Jars
Pantry Storage Baskets
Custom Pantry Labels
Pen and Paper
Step 1: Reality Check
Before you roll up your sleeves and get down to business, you’ll want to clarify a few things:
- What are your current pantry pain points?
- What are your specific goals for your pantry makeover?
- Which items do you want to make more accessible?
- Are there specific items you want to eat more of/less of?
Having a specific vision of how your dream pantry would look, feel, and function will anchor the work ahead. Jot down any specific notes or goals for the project before you dive in.


Step 2: Everything Out
This is one of those projects where you really need to start fresh and do a complete overhaul. Your kitchen counters, island, or dining room table work well as a staging area. As you unload the contents of your pantry, do your best to group items by type – a pile for canned goods, another for sauces and marinades, another for breakfast cereals and snacks – you get the picture. Once your pantry is empty, wipe down the shelves and give the floors a quick sweep. Make sure to relocate any random household items you came across while emptying out your space.
Step 3: The Rapidfire Edit
Next up, we’re going to edit the contents of your pantry so we can make sure you’re only stocked with foods you actually eat and that are not expired or past their prime. It’s helpful to set up a station with separate bags for composting, recycling, and food donations, so you can edit efficiently. As you review, you’ll just need to decide which items you want to keep, and which items need to hit the road. Once you’ve finished reviewing the contents of your pantry, make sure to take out trash, recycling, and compost, and drop off any food donations to friends, neighbours, or your local food bank.
Pro Tip: To prevent food waste, dump contents like stale crackers and expired baked goods into your green bin or compost bin, and recycle any hard plastics, glass and metal containers. Typically the only items that actually have to go in the landfill are soft plastics.


Step 4: Organize Like a Pro
When it comes to organizing the contents of your pantry, you want to think about grouping all of your non-perishable items in big, broad categories – channel your local market as you set up your space. Consider the categories that intuitively make sense to you. Common categories include:
Baking Essentials, Cooking Essentials, Canned Goods, Sauces + Marinades,
Snacks + Treats , Pasta + Grains, Coffee + Tea, and Beverages
Consider your lifestyle and food preferences so you can create categories that make sense to you. Maybe you’d like a section for smoothie staples or breakfast essentials, or your collection of chocolates that you don’t want your kids to eat. Once you’ve grouped all of your pantry essentials by type, you’re ready to label, contain, and set up the contents in your space!


Step Five: Set up + Style
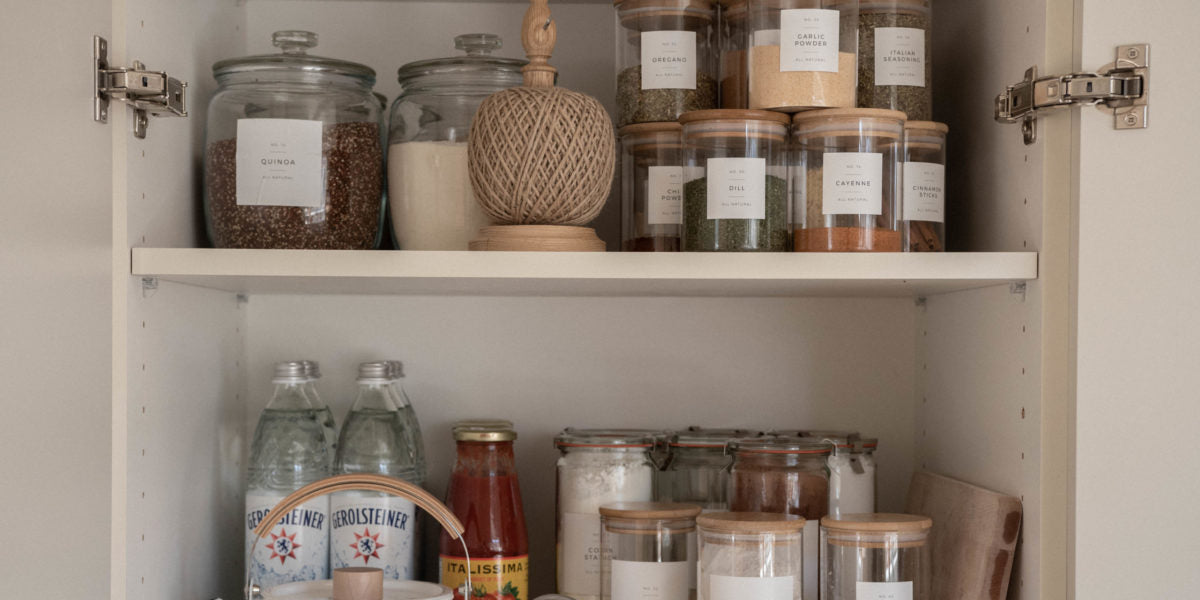
When it comes to setting up your pantry staples in your space, consider containing your broad categories together in clearly labeled bins or baskets – i.e. all of your sauces and marinades can be corralled into one labeled bin so you can locate them at a glance. You can maximize space and keep snacks, grains, and baked goods fresher longer by ditching packaging and decanting the contents into airtight jars. Use painter’s tape and a marker or a label maker to label your jars, or order custom labels for a more elevated look. Make sure to set up your pantry essentials by type and usage with frequent-use items at arm’s reach, and occasional or seasonal items on the harder to reach shelves, or even stored behind your bins or baskets.
You can line your jars and canned items up in neat rows like a supermarket and make sure all bins and baskets are neatly tucked in with labels facing you.
Congratulations, you have mastered the fine art of pantry organization!


You can find more inspiring guides to declutter your space and mind on Shira’s website and Instagram . Her book, MINIMALISTA , will be out in Fall 2021 – it’s already on our reading lists!


Leave a comment